Methods of Firing
Woodfiring in the train kiln
Transformation by fire is the essence of the ceramic process. We consider all of our firing processes to be an integral part of our creative effort. However, firing with wood that we’ve gathered, split, and stacked in a kiln that we designed and built on our property is definitely the ultimate expression of how fire itself helps us complete our artistic vision. Our train kiln is designed to pass fire and ash across the surfaces of our pots in a continuous, sinuous stream for days, building unique patterns of color and sheen onto the surfaces of the pots as they transform into vitreous stoneware and porcelain. While we have an idea of the types of surfaces we can expect in different zones of the kiln, each piece emerges with the unique markings of its position in the stream. After the days of hard physical labor and almost a week of pure anticipation as the kiln slowly cools, unloading day produces a combination of gratification, pleasant surprises, and occasional annoyances. We lose more pieces to the vagaries of the kiln when we wood-fire than we do with any other method, but the reward when pieces are successful far outweighs the casualties.
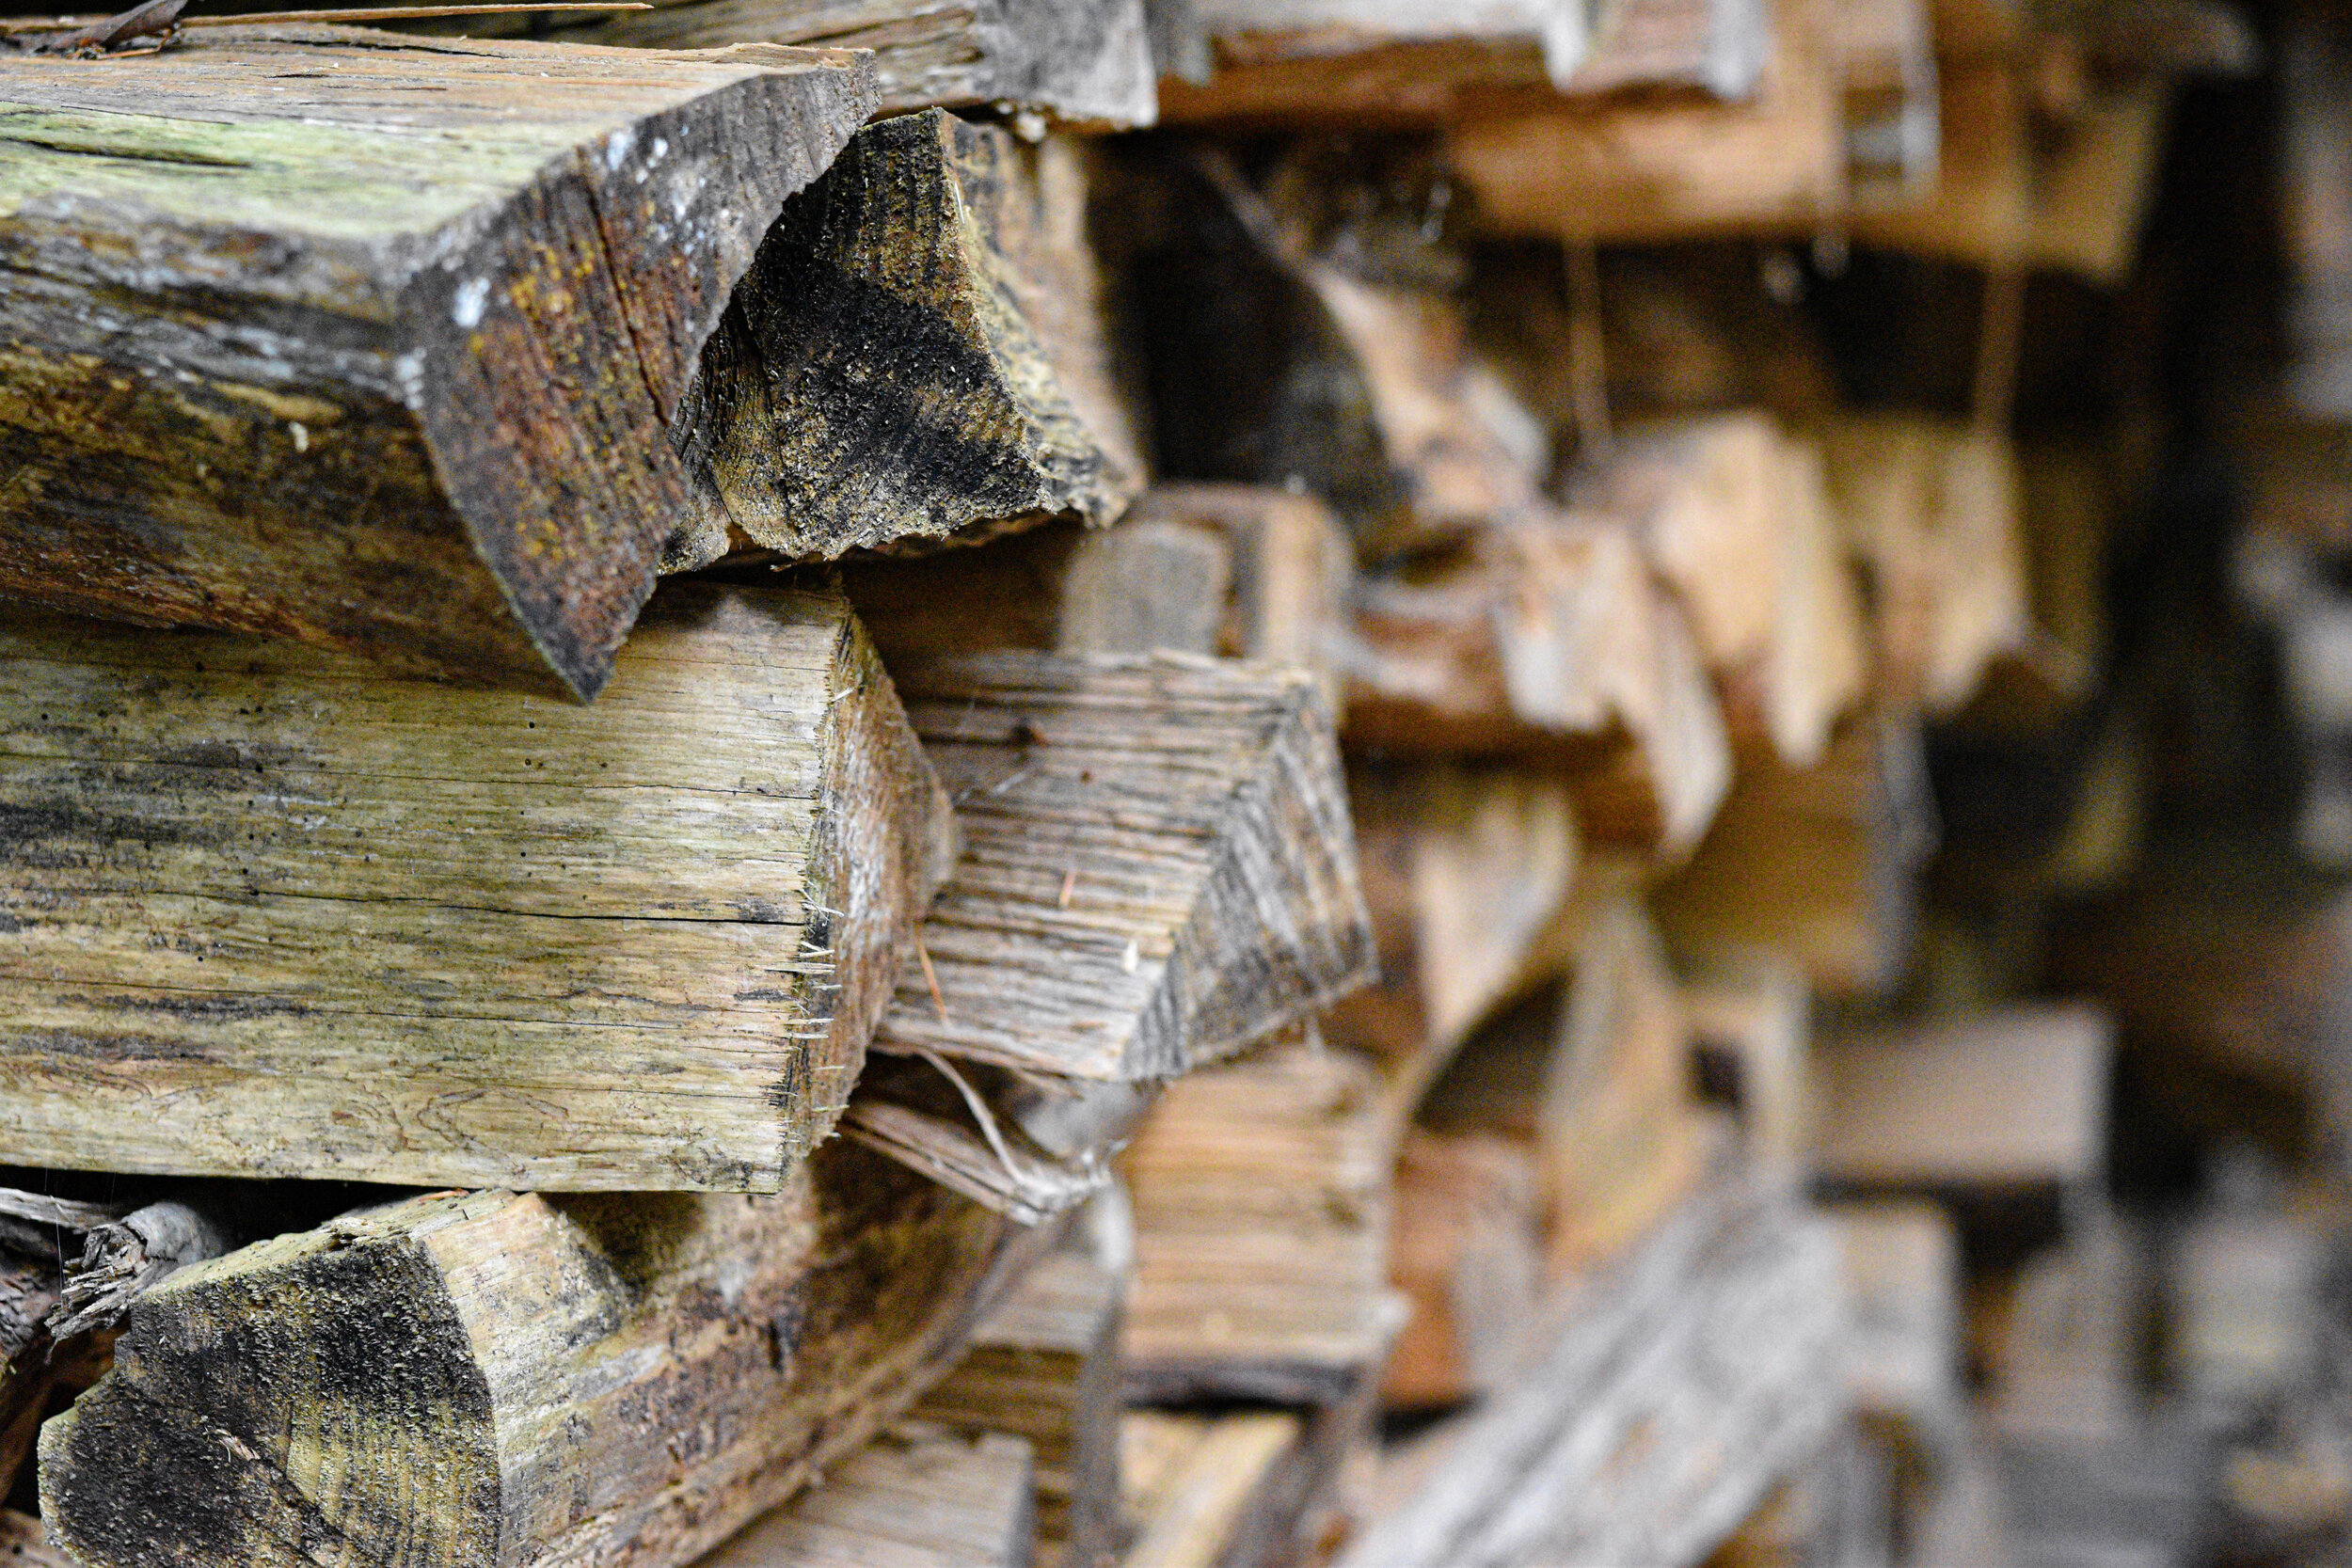
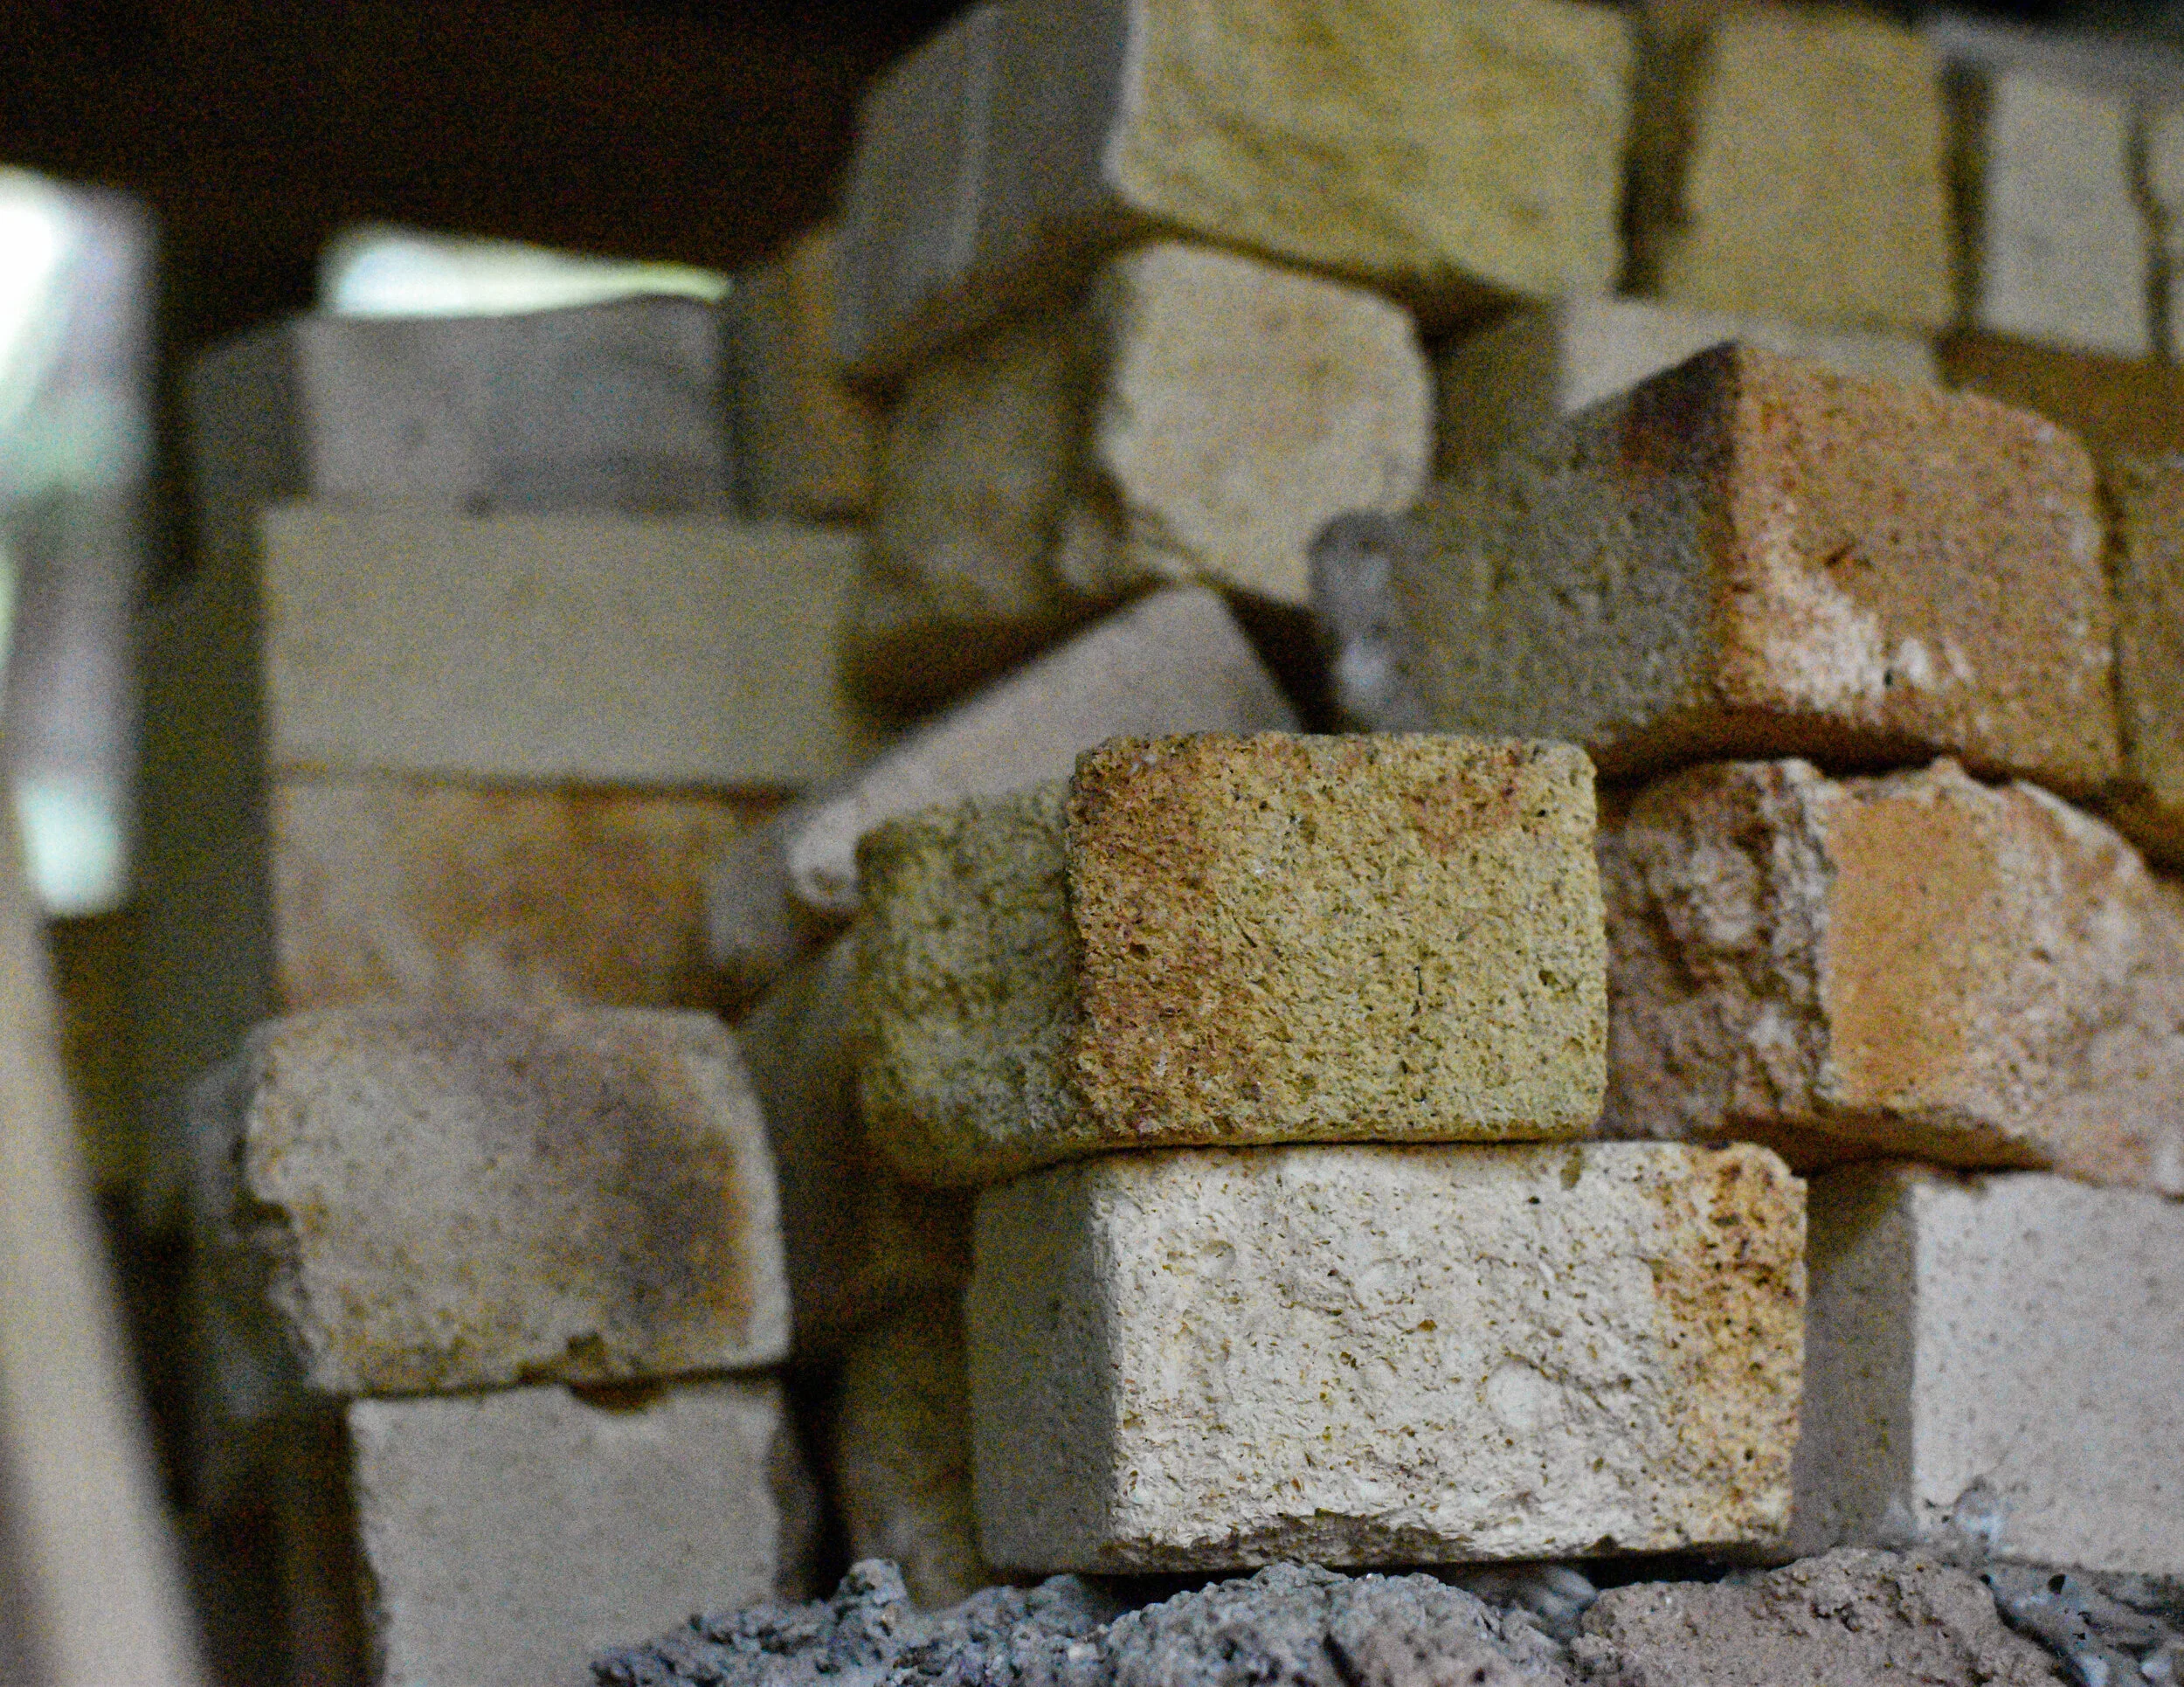
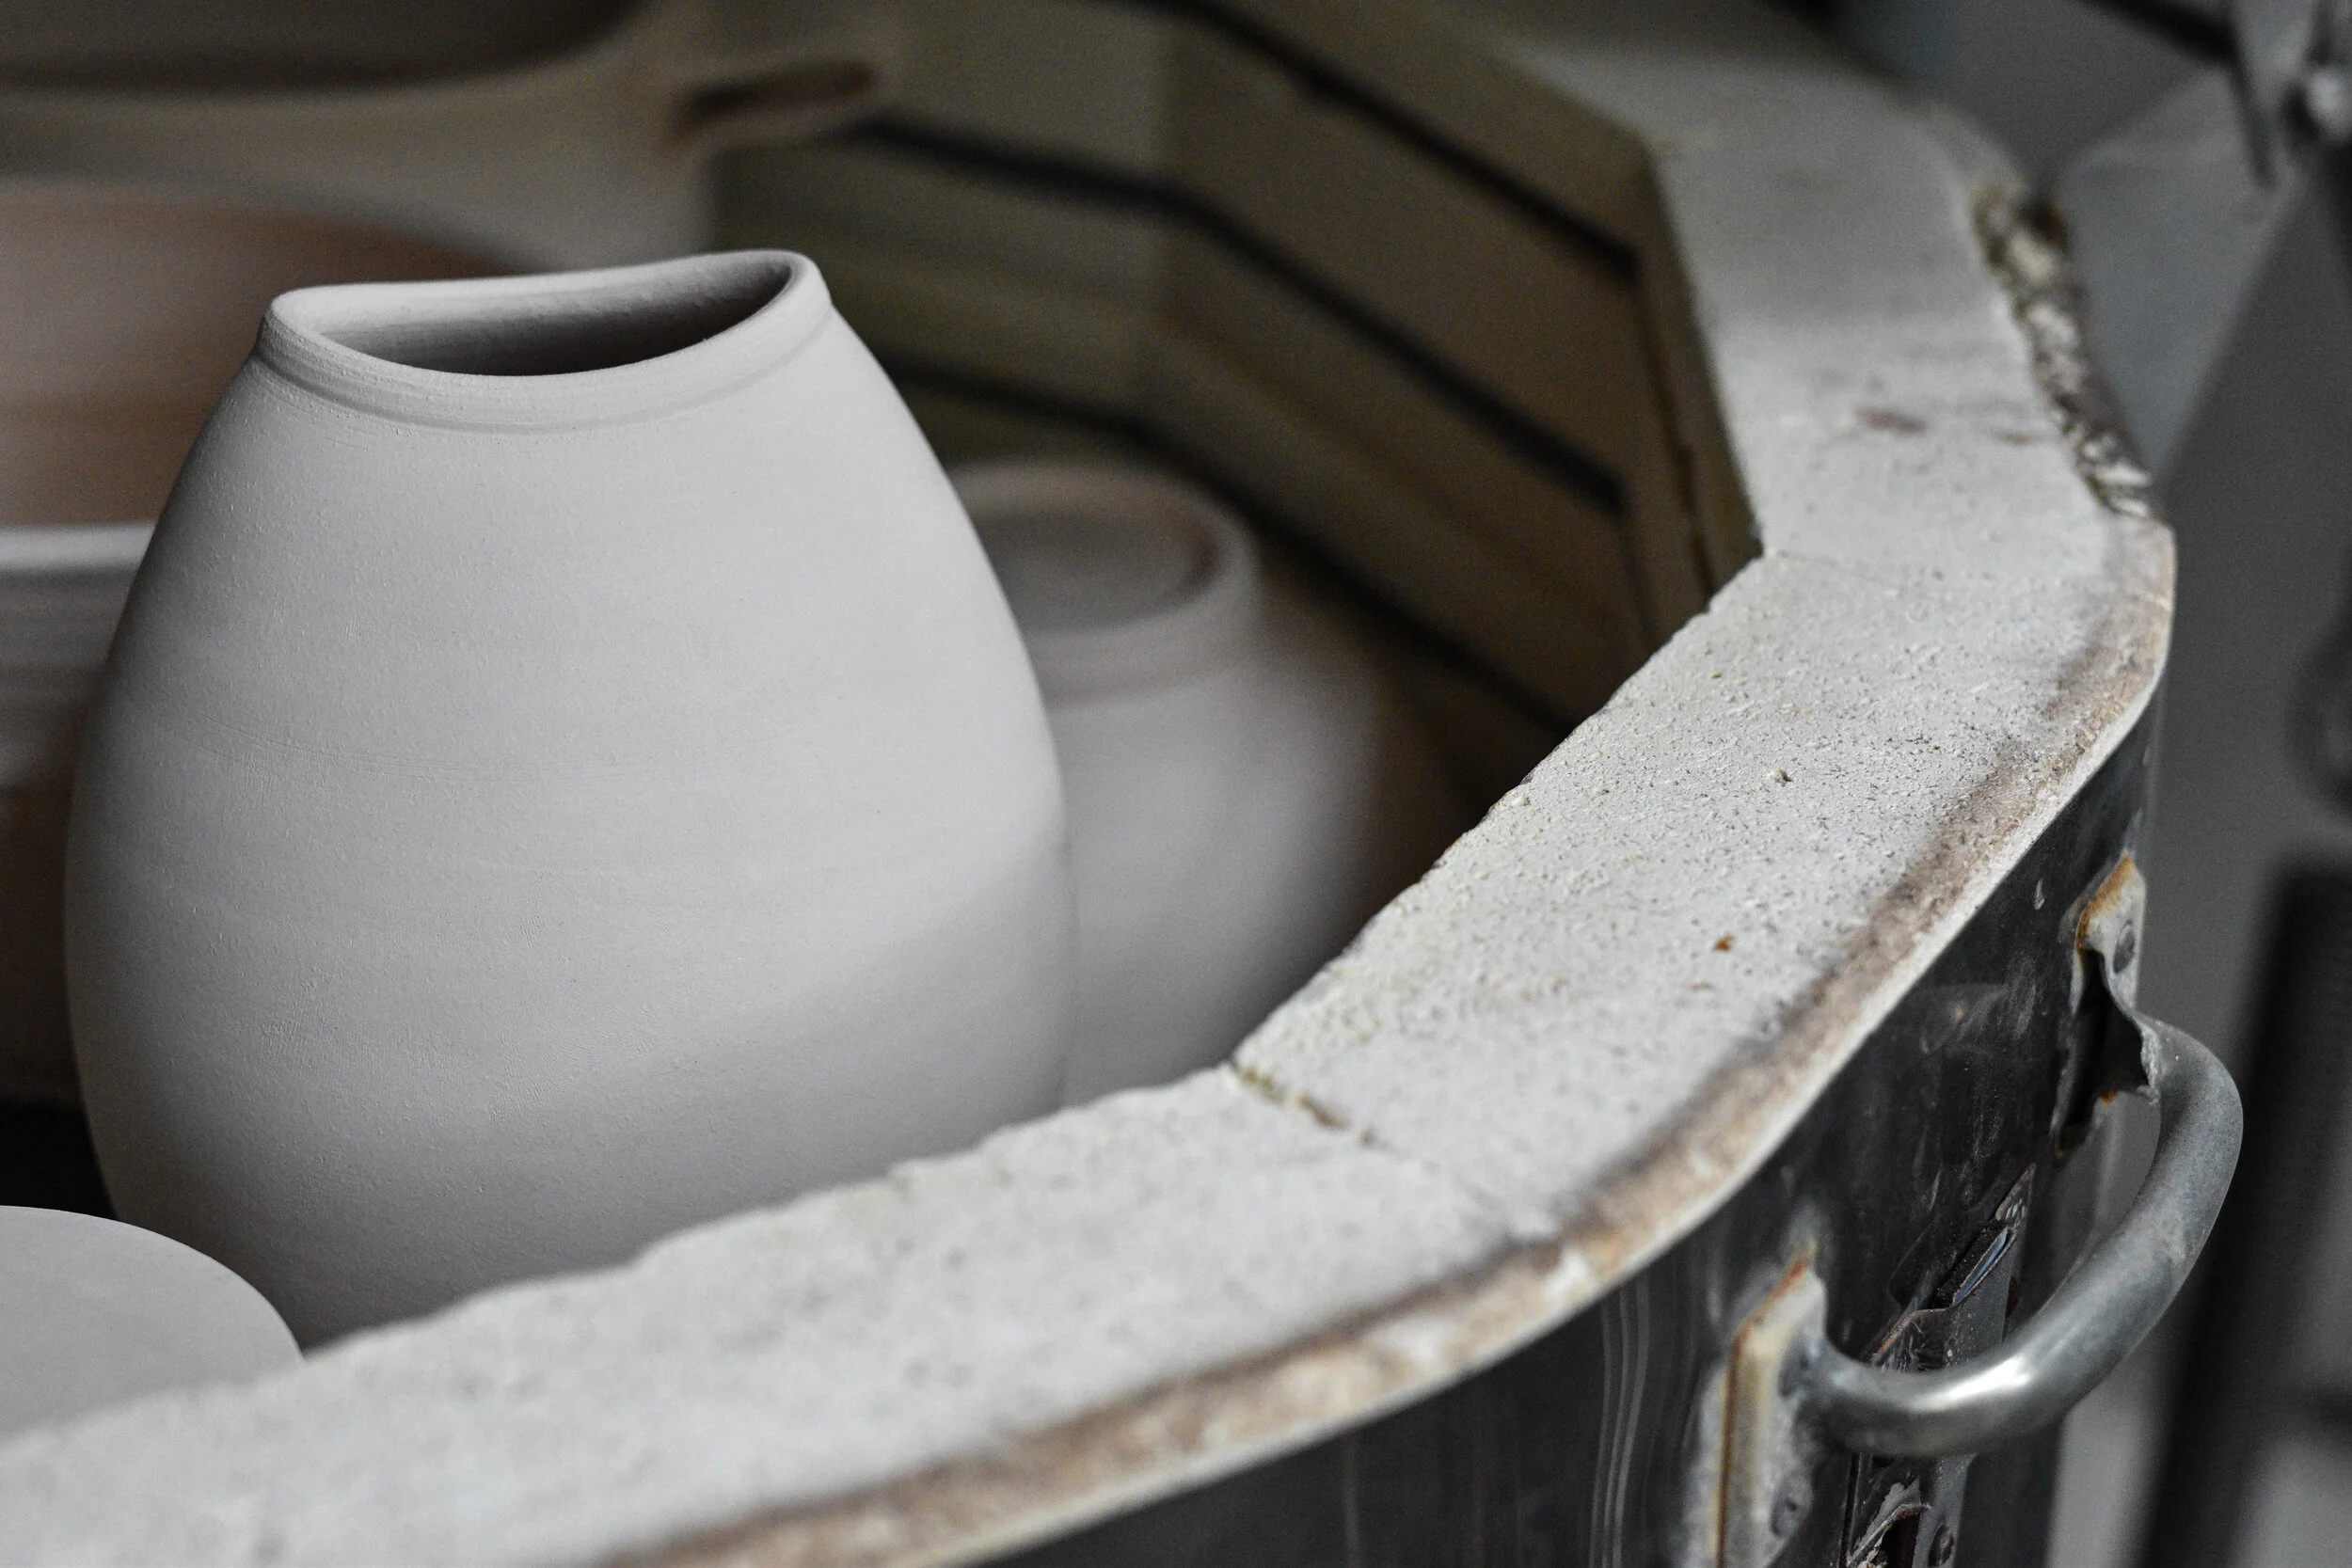
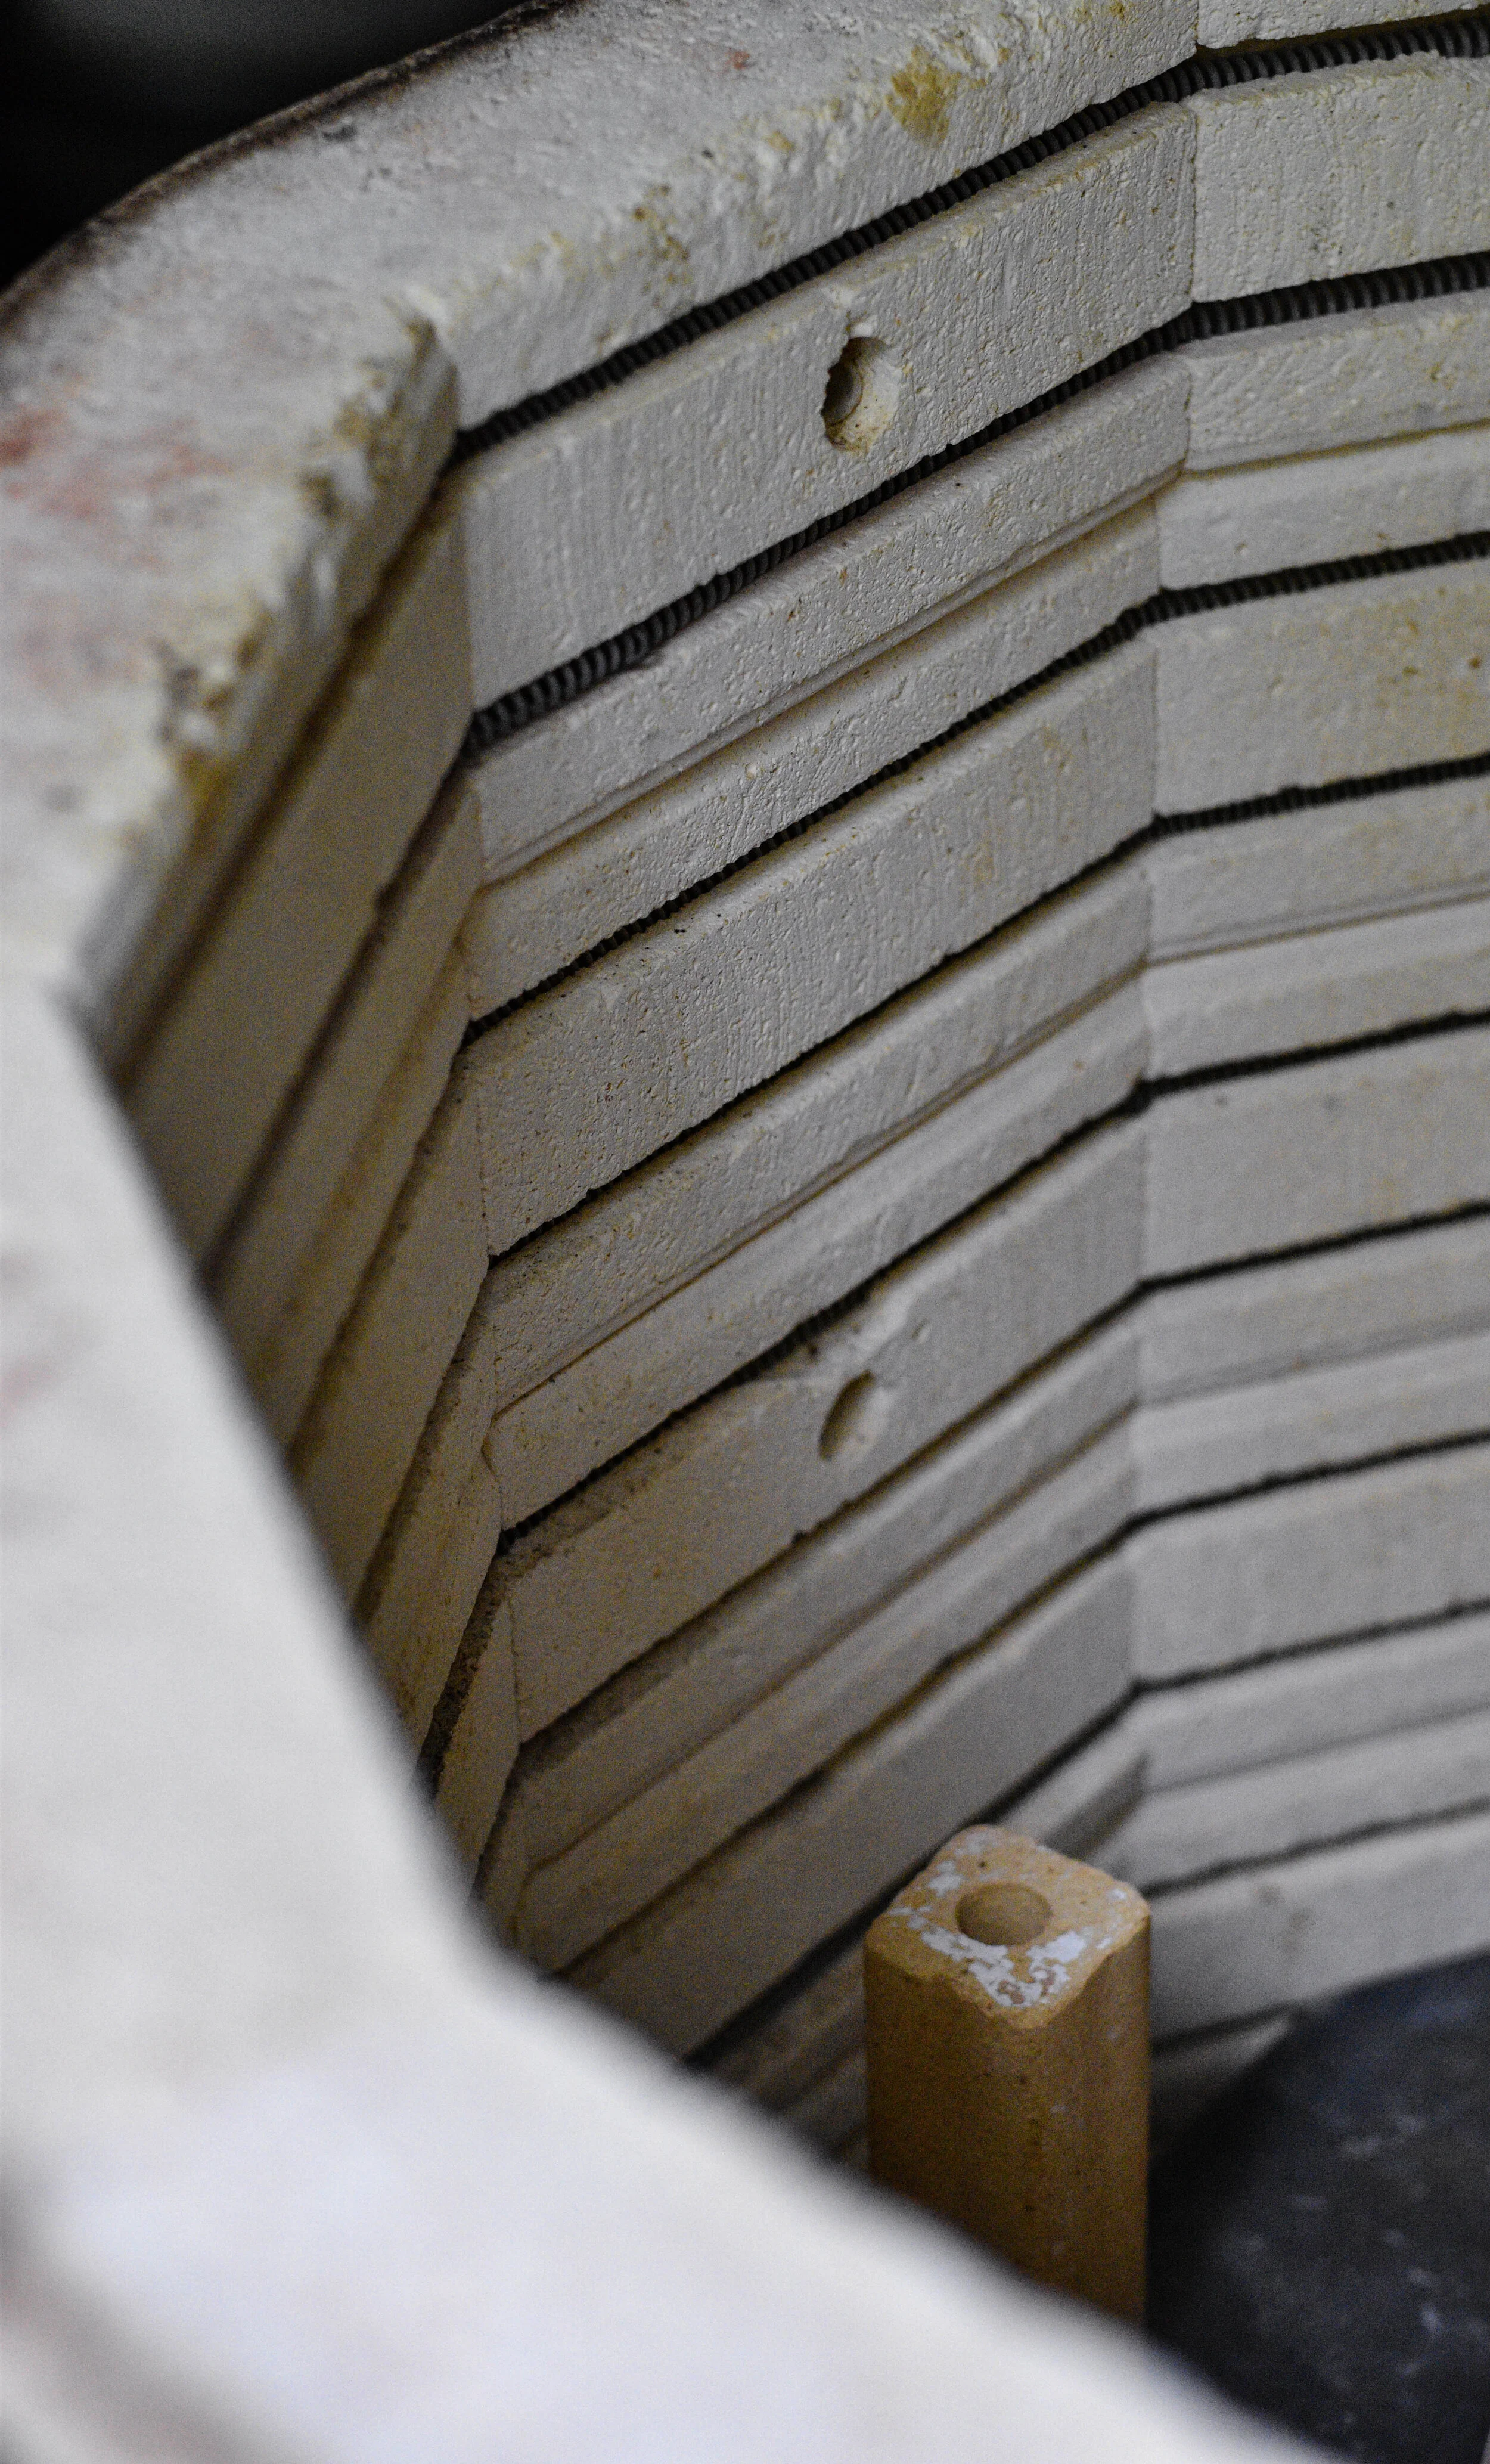
We take time out about two times a year to focus all of our efforts on firing the wood kiln. With split pine and mixed hardwoods well seasoned and stacked near the kiln, we begin prepping the kiln for loading. All the shelves are ground smooth with diamond wheels and even the floor of the kiln is ground and vacuumed out. Ash from the last firing remaining in the firebox finds its way to either the garden as fertilizer or into new ash glazes. Each and every pot is lined with glaze and three or more wads of clay and sand are glued to their bottoms to elevate them off of the kiln shelves so that the flame and ash can pass underneath. Because the position of each piece in the kiln is so critical to the final surface, loading the kiln takes an extremely long, full work day to complete. Firing begins pre-dawn the following day and continues for 40-60 hours of continuous attention and stoking. Each firing is a fresh attempt to manipulate atmosphere, time, and temperature to impart a rich surface to clay and glazes.
Throughout the firing, ash and volatile alkaline compounds fly through kiln carried by the currents of flame. We manipulate the amount of air we admit into the combustion chamber by opening ports on the front of the kiln and adjusting the position of the damper at the base of the chimney. As the kiln passes through a critical temperature range between roughly 1600 and 1900 degrees Fahrenheit, we are very careful to hold the kiln in a reduction atmosphere. We keep the firebox full of fuel and adjust the damper to reduce the draft of the chimney. If we get this body reduction just right, our clay bodies and glazes will acquire a rich palette of colors that the rest of the firing can enhance with natural ash deposits. Lack of attention at this point or poor firing decisions can ruin an entire load with anemic-looking oxidized surfaces.
Once the trials of body reduction have passed, we aim to bring the whole kiln up to a temperature where the clay surface is very reactive with the kiln atmosphere. The tacky surface of the clay can collect and melt layer upon layer of ash flying by from firebox to chimney. As the layers achieve sufficient thickness, they can start to run in golden or green rivulets down the sides of the upstream side of the pots. We hold here at around 2200 degrees Fahrenheit until we are satisfied that the pots are “juicy” enough. We then begin a gradual climb to our target maturing stoneware temperature of over 2350 degrees. We use an army of pyrometric cones throughout the kiln to assess the progress and completion point of the firing as well as a dual probe pyrometer that gives us more instant feedback on the kiln temperature’s behavior relative to the stoking pattern. Once we reach temperature and soak for about an hour by introducing resinous pine through the air intakes, we close the damper and seal off all the air intakes to begin the long slow cooling process.
Because of the mass of the hardbrick lining of the kiln, as well as all the pots and shelves, the kiln takes a good five to six days to cool off enough to unload. The insulating layers hold the heat remarkably well, and many of the most exciting surfaces come from this extremely slow cooling. Crystals grow in the glaze surfaces where the right amount of ash built up. Pots cooling in close proximity to the remains of the ember pile acquire cool blue-grey tones from localized reduction cooling. Farther away from the firebox, oxygen seeping into the ware chamber brings out a range of warm colors from salmon pink to rich pumpkin orange and mahogany reds.


Cone 6 oxidation firing in the electric kiln with slow cool.
Firing our work in the electric kiln allows for a greater degree of control and repeatability, an important factor to consider when hours of work go into each piece. However, we were adamant that we did not want the work to look cold, sterile, and one-dimensional. Based on research by Steven Hill, we custom program our kilns to heat slowly toward a long hold at top temperature and then cool down very slowly to allow time for crystal growth within the glaze matrix. Like good barbecue, this “low and slow” approach lets us mature our clay body and glazes at a much lower temperature than the published values for cone 6, and the long soak at top temperature and slow cool maximize tightening up of the clay body and movement in the glazes. This approach to the electric kiln brings out the full richness of colors, layered glaze interactions, and surface texture quality that we appreciate in our atmospherically fired work.


Cone 10 reduction firing in gas kiln.
Firing to cone 10 (high stoneware temperature) in a gas kiln lets us control kiln atmosphere in a way that has a profound influence on the appearance of both our clay body and our glazes. Because we control not only the rate of heating and cooling but also the fuel:air ratio in the kiln, we can effect chemical changes on our clay and glazes as we fire to yield an entirely different color palette in our glazes. The deliberate cutting back of the air supply starting around cone 012 (around 1600 deg. F) causes iron and other metallic compounds in the clay and glazes to give up oxygen to the kiln atmosphere. We maintain a strong reduction atmosphere for at least an hour to convert red iron oxide (think rust or Fe2O3) into black iron oxide (magnetite or Fe3O4). The two different forms of iron have dramatically different behavior in both clay body and glazes. Red iron oxide is fairly inert and hard to melt, while black iron oxide acts as a flux and helps melt the clay body into a denser, more stone-like matrix. Our celadon glaze that we formulate with a large percentage of local granite dust relies on this reduction of iron for its delicate sky blue color. The timing and intensity of reduction during the firing cycle have to be just right to achieve that result, and that makes it all the more exciting and special when it works out perfectly. We love the way the granite celadon floats over Jessica’s intricate drawings adding softness and depth to the images.
Once body reduction is complete, we maintain a lighter reduction atmosphere that allows the kiln temperature to climb slowly toward our goal of cone 10 (2350F), and we try to balance the heat throughout the kiln before shutting it down for three days of slow cooling. We enjoy not only our delicate porcelain pieces with Jessica’s illustrations under celadon glaze but also a variety of other stoneware pieces with glazes often incorporating locally sourced minerals, clays, and ashes. The joy of working at high stoneware temperature is that so many materials can fuse together into interesting glazes when combined in the proper proportions. We’re constantly on the lookout for ways to create unique glazes made with non-commercial ingredients that hearken back to pre-industrial times.